Cable laying is an important activity in industrial electrical projects. It must be done carefully to avoid cable damage, installation defects, safety incidents, and future electrical failures.
A proper cable laying method statement helps maintenance and project teams follow a safe and controlled procedure during cable installation.
This article explains a practical method statement for cable laying in industrial projects.
What Is Cable Laying?
Cable laying is the process of installing electrical cables from one point to another.
In industrial plants, cables may be installed between:
- Transformer and switchgear
- Main distribution panel and MCC panel
- MCC panel and motor
- Control panel and field instruments
- PLC panel and junction box
- Lighting panel and lighting fixtures
- Compressor panel and power source
- Crane panel and power supply
Cable laying may be done in cable trays, trenches, conduits, ducts, or underground routes.
Purpose of Cable Laying Method Statement
The purpose of a cable laying method statement is to define the correct and safe procedure for cable installation.
It helps ensure:
- Safe work execution
- Proper cable handling
- Correct cable route
- Cable protection
- Proper pulling method
- Avoiding cable damage
- Correct identification and labeling
- Good workmanship
- Compliance with project and site requirements
Scope of Work
The scope of cable laying may include:
- Cable drum inspection
- Cable route inspection
- Cable tray or trench preparation
- Cable pulling
- Cable dressing
- Cable tagging
- Cable glanding
- Cable termination
- Insulation resistance testing
- Continuity testing
- Final inspection
The actual scope depends on the project requirements and approved work procedure.
Required Documents
Before starting cable laying work, the following documents should be available:
- Approved electrical drawing
- Cable schedule
- Cable routing layout
- Method statement
- Risk assessment
- JSA
- Work permit
- Cable drum list
- Manufacturer data sheet
- Inspection and test plan
- Latest revision of project drawings
Never start cable laying based on outdated or unofficial drawings.
Required Tools and Equipment
Common tools and equipment include:
- Cable drum jack
- Cable roller
- Cable pulling grip
- Cable pulling rope
- Cable lubricant if required
- Measuring tape
- Cable cutter
- Cable ties or cleats
- Cable tag printer or markers
- Multimeter
- Insulation resistance tester
- Hand tools
- Communication devices
- Barricade tape
- Warning signs
All tools should be inspected before use.
Required Manpower
Cable laying work may require:
- Electrical engineer
- Electrical supervisor
- Electrical technicians
- Riggers if required
- Safety officer
- Equipment operator if required
- Permit receiver
- Helper team
The number of workers depends on cable size, cable length, cable route, and site condition.
Safety Requirements
Before cable laying starts, the team must follow site safety requirements.
Basic safety requirements include:
- Approved work permit
- Approved JSA or risk assessment
- Toolbox talk before starting work
- Proper PPE
- Barricade of work area
- Safe access to work location
- Proper lifting arrangement
- Manual handling control
- Work at height permit if required
- Confined space permit if required
- Good housekeeping
- Emergency access clearance
Cable laying can involve heavy loads, sharp edges, elevated areas, and trip hazards.
Pre-Installation Inspection
Before pulling the cable, inspect the route.
Check:
- Cable tray installation is complete
- Cable trench is clean
- Conduit is free from blockage
- Sharp edges are removed
- Cable route matches approved drawing
- Cable supports are ready
- Pulling points are identified
- Cable bending radius can be maintained
- Access is safe
- Existing cables are protected
- No obstruction on the route
Any issue should be corrected before cable pulling starts.
Cable Drum Inspection
Inspect the cable drum before installation.
Check:
- Cable size
- Cable type
- Voltage grade
- Drum number
- Cable length
- Cable tag number
- Outer sheath condition
- Drum rotation direction
- Manufacturer label
- Physical damage
- Storage condition
Do not install damaged cable without approval.
Cable Pulling Procedure
The cable pulling procedure should be controlled and supervised.
Basic steps:
- Confirm cable tag and route.
- Place the cable drum on a suitable cable drum jack.
- Make sure the drum rotates freely.
- Install cable rollers along the route if required.
- Assign workers at key route points.
- Pull the cable slowly and smoothly.
- Avoid sudden pulling force.
- Maintain communication between workers.
- Avoid dragging cable on sharp edges.
- Maintain minimum bending radius.
- Stop immediately if abnormal resistance is found.
Cable pulling should not be rushed.
Cable Bending Radius
Minimum bending radius is very important.
Excessive bending can damage insulation, sheath, or conductor.
The bending radius should follow manufacturer recommendations or project standards.
Never force a cable around sharp corners.
For large power cables, use proper rollers and route planning to avoid damage.
Cable Pulling Tension
Cable pulling tension must be controlled, especially for large cables.
High pulling force can damage the conductor or insulation.
Check the manufacturer recommendation for maximum pulling tension.
If the cable is long or heavy, use proper pulling equipment and enough manpower.
Cable Dressing
After cable pulling, dress the cable properly.
Cable dressing includes:
- Arranging cables neatly
- Removing twists
- Maintaining spacing
- Avoiding crossing where possible
- Supporting cables properly
- Fixing cables with cleats or ties
- Maintaining access for future maintenance
Good cable dressing improves safety, appearance, heat dissipation, and troubleshooting.
Cable Tagging and Identification
Cable tagging is essential for maintenance and troubleshooting.
Tags should be installed at:
- Cable start point
- Cable end point
- Junction boxes
- Pulling points if required
- Panel entry points
- Field equipment side
Cable tags should match the approved cable schedule and drawings.
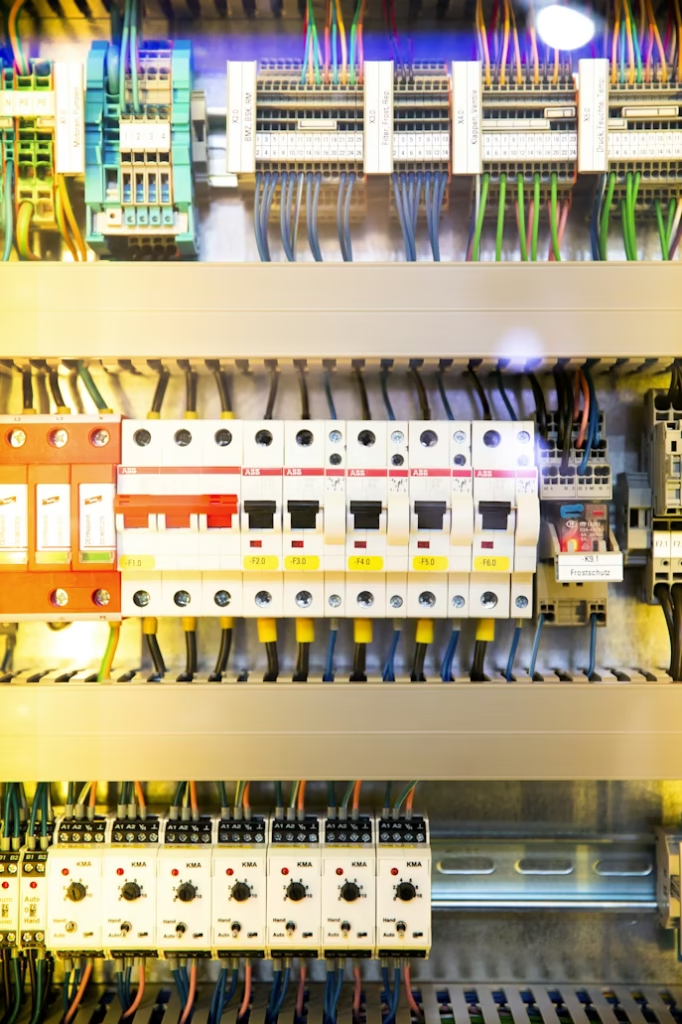
Cable Glanding
Cable glanding should be done carefully to ensure mechanical protection and proper sealing.
Check:
- Correct gland size
- Correct gland type
- Proper tightening
- Earth continuity if armoured cable
- Sealing washer condition
- Cable sheath condition
- No damage to insulation
- Proper cable support
For armoured cables, ensure proper armour termination.
Cable Termination
Cable termination should be performed by competent electrical technicians.
Check:
- Correct lug size
- Proper crimping tool
- Correct phase identification
- Proper insulation
- Terminal tightness
- Correct torque if available
- Heat shrink or insulation sleeve condition
- Proper clearance
- Correct connection based on drawing
Wrong termination can cause overheating, failure, or equipment damage.
Testing After Cable Installation
After cable laying and before energization, testing should be completed.
Common tests include:
- Visual inspection
- Continuity test
- Insulation resistance test
- Phase identification
- Earth continuity test
- Cable route verification
- Torque check if required
Test results should be recorded and approved according to site procedure.
Insulation Resistance Test
Insulation resistance testing helps confirm cable insulation condition.
Testing may be done between:
- Phase to phase
- Phase to earth
- Core to core
- Core to armour if applicable
Test voltage and acceptance criteria should follow project standards and manufacturer recommendations.
Do not perform insulation resistance testing on connected electronic devices unless they are isolated and approved for testing.
Cable Laying Checklist
| Check Point | What to Verify |
|---|---|
| Cable schedule | Correct cable tag and size |
| Cable drum | No physical damage |
| Cable route | Matches approved drawing |
| Cable tray/trench | Clean and ready |
| Rollers | Installed where required |
| Bending radius | Within allowed limit |
| Pulling tension | Controlled |
| Cable dressing | Neat and supported |
| Cable tagging | Installed at both ends |
| Glanding | Correct gland and sealing |
| Termination | Correct lug and torque |
| Testing | IR and continuity completed |
| Documentation | Test records and inspection report |
Common Cable Laying Mistakes
Common mistakes include:
- Pulling the wrong cable
- Using outdated drawings
- Dragging cable on sharp edges
- Exceeding bending radius
- Pulling cable too fast
- Poor cable support
- Missing cable tags
- Wrong cable gland size
- Poor crimping
- Incorrect phase identification
- Testing cable while equipment is connected
- Poor housekeeping after work
These mistakes can create serious problems during commissioning and operation.
Field Example
A 240 mm² power cable is required to be laid from an MDP panel to a compressor panel through an elevated cable trench.
Before starting, the team should check the approved route, work at height requirements, cable tray condition, cable drum details, pulling points, and communication between workers.
Because the cable is heavy, enough manpower and proper rollers must be used. The team should avoid sharp bending and protect existing cables.
After installation, cable tagging, glanding, termination, insulation resistance testing, and final inspection should be completed.
Final Inspection
Final inspection should confirm:
- Cable installed as per approved route
- Cable tag installed
- Cable is properly supported
- No visible damage
- Correct glanding and termination
- Test results are acceptable
- Work area is clean
- Panels are closed properly
- Documentation is complete
The cable should not be energized until final approval is completed.
Safety Notes
Cable laying work may involve heavy lifting, work at height, sharp edges, confined areas, and electrical hazards.
Always follow approved work permits, JSA, risk assessment, and site safety rules.
Use proper PPE and never stand under suspended loads.
Do not energize any cable until testing, inspection, and approval are completed.
Conclusion
Cable laying in industrial projects must be planned, supervised, and executed carefully.
A proper method statement should include cable route inspection, cable drum inspection, safe pulling method, cable dressing, tagging, glanding, termination, testing, and final inspection.
Good cable laying practice improves reliability, safety, and future maintenance of electrical systems.